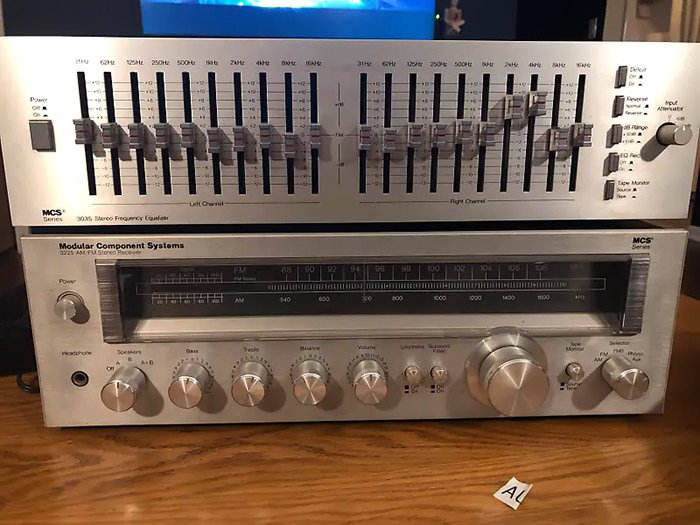
Here’s what those levels are adjusting:
16Hz – 60Hz = SUB BASS This is the super low-end that can be felt physically by your body on a good subwoofer/sub-bass system. Sounds with these frequencies are the most powerful ones, and they will take up a lot of room in the mix. Use this range to fatten up your kick drums or sub-bass patches. Too much volume in this range makes your mix sound «muddy.»
60Hz – 250Hz = BASS This is where basslines and kick drums have their most important sounds. A common problem is that the bassline and kick cancel each other out due to PHASE problems (easily demonstrated when DJ-ing, if you play two tracks and have them beatmatched, it’s important to cut one of the tracks’ bass level or else the kick drums will cancel each other out and the overall bass level is lowered). A useful trick then is to try PHASE INVERSION on either the bassline or the kick drum, compressing the kick and bass together and/or avoiding to place a bass note on top of a kick drum. This range should also be lowered in most other sounds like guitars, synth lines and vocals so they don’t interfere with the kick and bassline. Too much volume here makes the mix sound «boomy.»
200Hz – 400Hz = Too much volume here will cause vocals to sound muddy and unclear. Cut this to thin out drum parts like snares, hi-hats, percussions and cymbals, boost to make them sound warmer or more «woody.»
250Hz – 2kHz = LOW MID or MID-LO Most instruments have their «darkest» parts here; guitars, piano, synthlines. Boosting around 500Hz – 1kHz can sound «horn-like» while boosting 1kHz – 2kHz can sound metallic.
400Hz – 800Hz = You can reduce some of these frequencies on the master mix to make your overall bass level sound tighter. Boost or cut here to fatten up or thin out the low end of guitars, synthlines and vocals.
800Hz – 1kHz = Here you can also fatten up vocals and make them sound warmer, in a different way than the previously mentioned method. Boosting around 1kHz helps add to the «knocking» sound of a kick drum.
1kHz – 3kHz = This is the edgy part of a sound, boost (gently!) here to define guitars, pianos, vocals and add clarity to basslines. Cut here to remove painful mid-frequencies in vocals. This frequency range is very hard on the ears, so be careful not adding too much volume here!
2kHz – 4kHz = HIGH MID or MID-HI Vocals have a lot of sound in this area, the sounds «B», «M» and «V» lie here.
3kHz – 6kHz = PRESENCE Plucky, fingered guitars and basslines can be more defined by boosting in this range. Cut in the lower part to remove the hard sound of vocals. Cut in the upper part to soften/round off sounds, and boost to add more clarity or presence to a sound. Boosting here helps defining most instruments and vocals.
6kHz – 10kHz = HIGH Boost this area to add more air and transparency to a sound. Crispness and and sparkle can be added by boosting this range on guitars, strings and synth sounds. Snares and bassdrums also benefits from boosting this area. In vocals, cut some of these frequencies (a de-esser plugin does this easily) to remove the hissing sounds. The sounds «S» and «T» lies between 6kHz and 8kHz and too much volume there will make the vocals stressful on your ears.
10kHz – 16kHz = HIGH This frequency range is where the crispness and brightness of sounds lie, and hi-hats and cymbals are the dominant drum parts. You can boost here to add even more air and transparency to sounds, and cut here to remove noise and hissing sounds which is unwanted in a bassline, for example. Pads and atmospheric sounds benefits from a boost in this range to make them sound brighter. Be careful not to boost too heavily, or else the mix will sound noisy.
